Start With Tactis ETU Software
Tactis ETU Software is a part of PeakSight 6.3 and late. The application can be load from the SX-AppBar by clicking on the < ETU > button (see below).
After a few second, ETU is in function and can be use as unique control interface for the SX-FIVE Tactis. ETU window contains three main parts : the real time imaging screen (RTI, 1), common controls area (2) and advanced controls under the tab box (3).
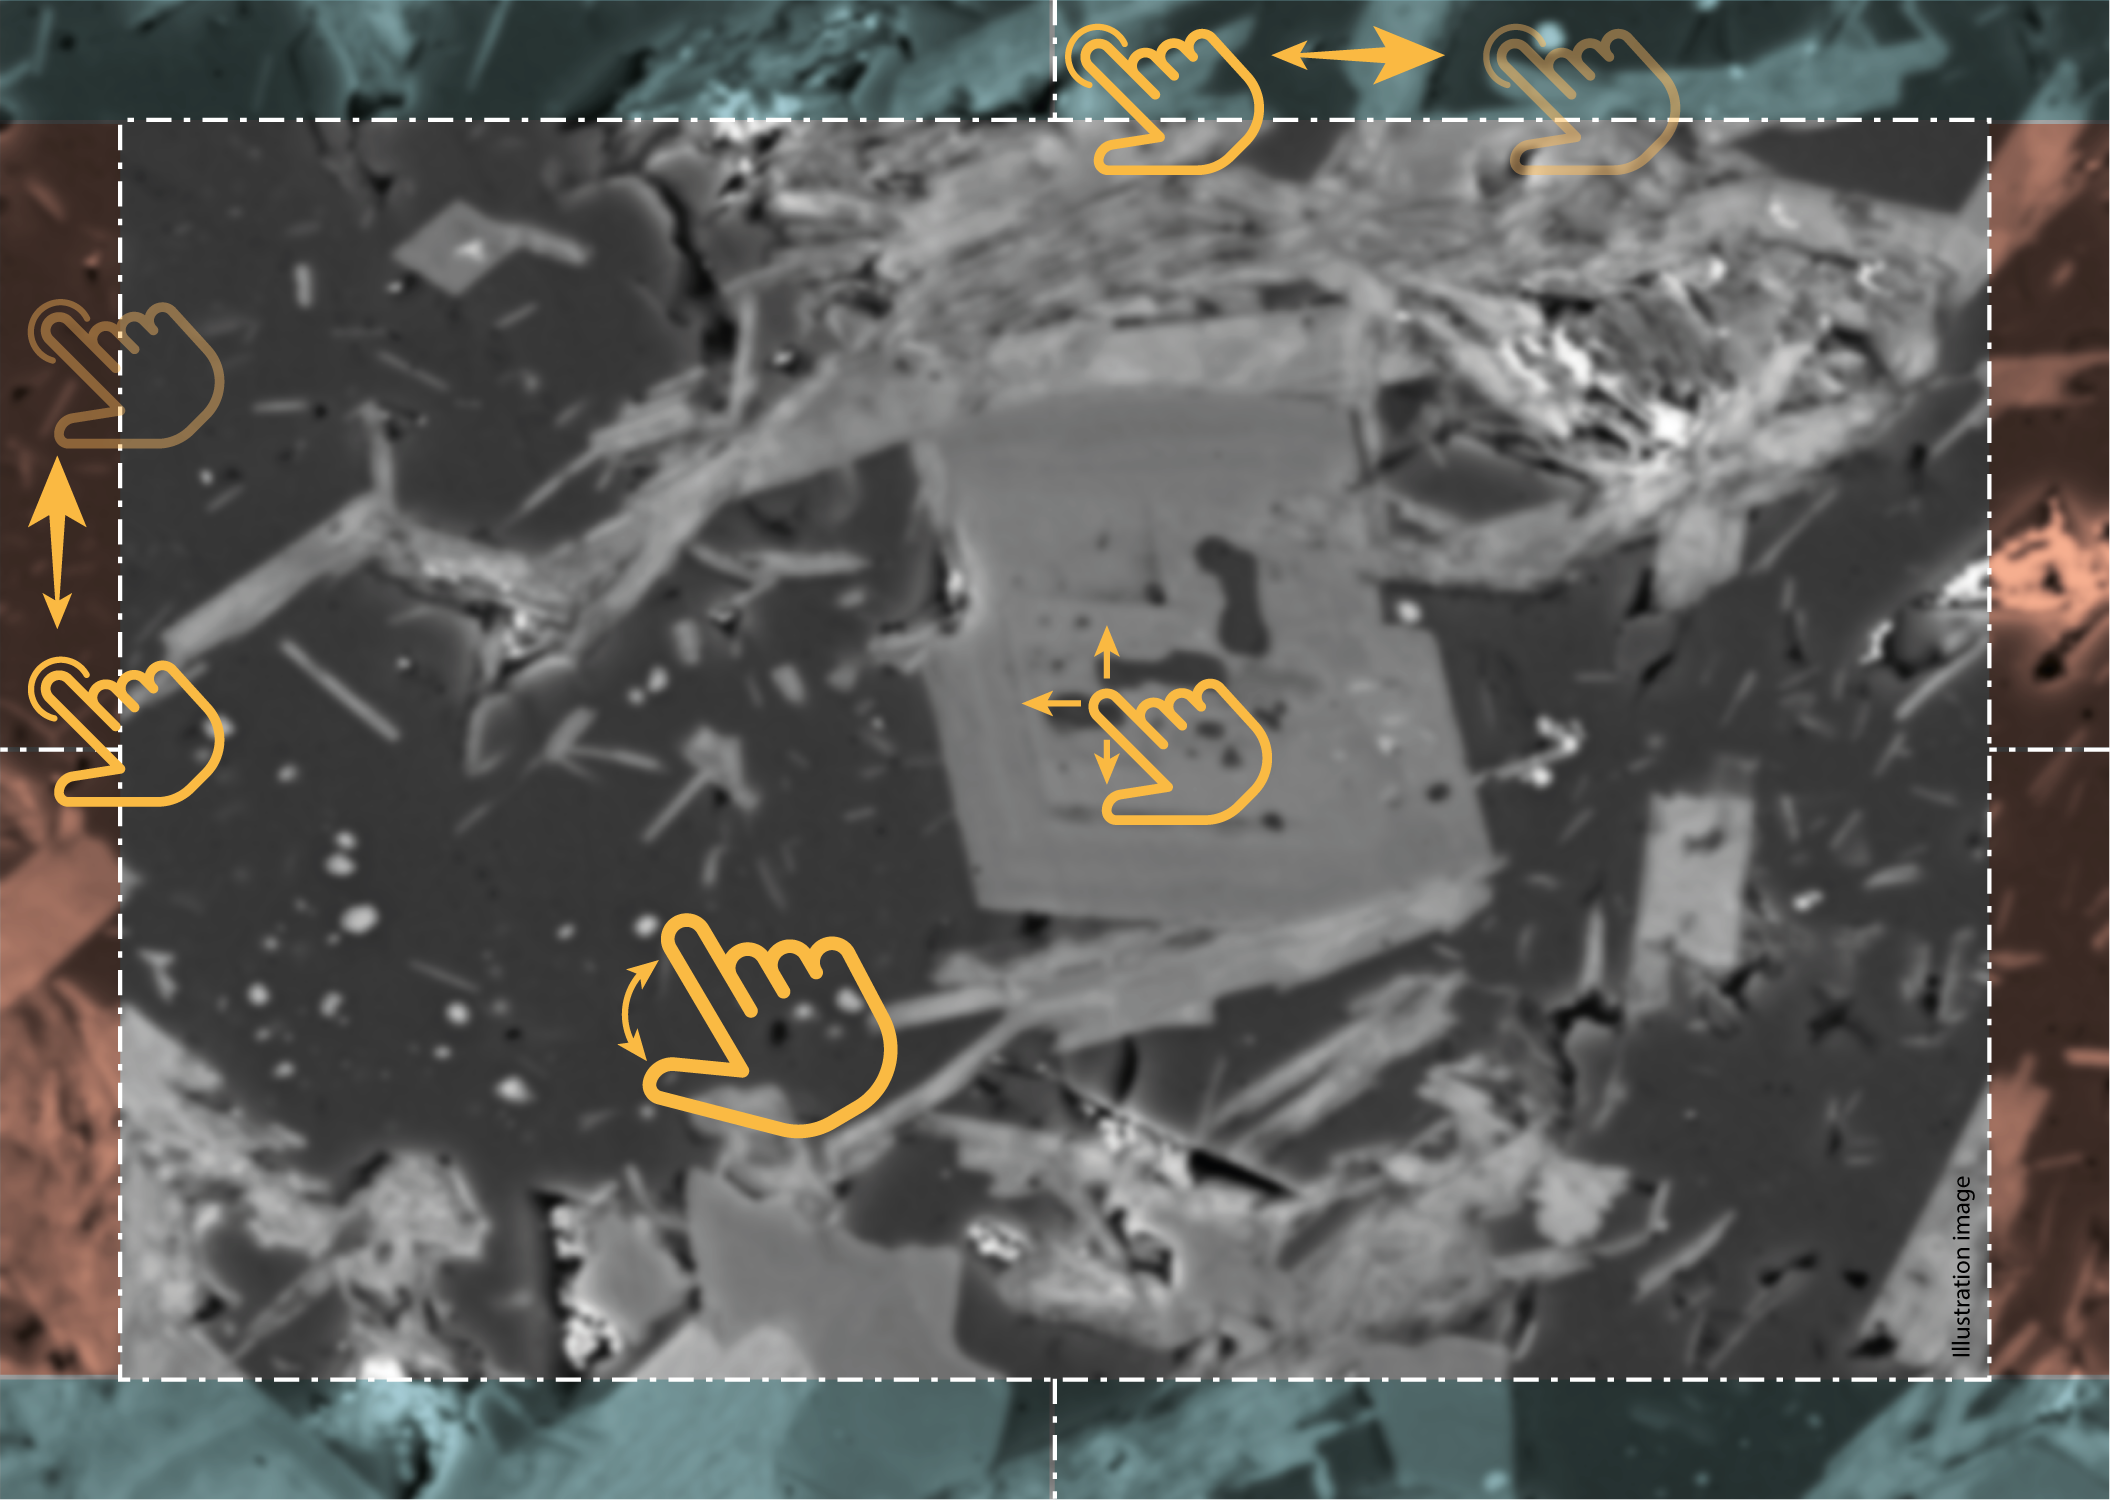
Each button can be activated though the touch screen functionalities. Hand-shape icon will indicate all the required interaction for each function according the following significations :
- Simple tap
- double tap
- Spread/Narrow fingers
- Tap, keep your finger on the screen and slide or turn
Real Time Imaging screen
It is probably on of the most amazing tool created for SX ETU ! On the same screen, users can display optic microscopy, electron microscopy and X-ray imagery (live or acquisition) according the selected tab (ex: if ‘SEM’ tab is selected, RTI screen will automatically display electronic image – backscattered or secondary electrons). For each display type, on board informations like scale bar or voltage are visible on the lower part (FIGURE).

RTI screen is also a new way for sample exploration though touchscreen controls (FIGURE). Touch and slide on the Blue and orange areas allow to move sample holder in X and Y axis respectively. Far your finger is from the center (dotted line), fast is the motion. Like with the map app of a smartphone you can also move the sample holder by dragging the image in desired direction. Magnification is lead by spread / narrow finger mouvement.
Common controls
This area, located directly above the RTI, hosts controls for light, beam, and informations like current tasks or sample position (FIGURE).
On click on the grey ‘Beam’ button will turn it in blue and turn on the electron beam. ‘Scan’ button switches the electron beam between scan or fix mode. IP dropdown list allow to select beam intensity and display de measured current in given conditions.
‘Light’ button turn On/Off the light in the optic microscope (specific controls about reflected or transmitted light are available under the ‘µ Scope’ tab). ‘AF’ button launch the autofocus sequence on optic or electronic microscope according the selected display on RTI screen.
‘X’, ‘Y’ and ‘Z’ values give the live position of the sample holder. Users can also filled the X-Y-Z positions field to send sample holder to a specific location.
Above X-Y-Z values, a dropdown list give the current action from the SX-FIVE Tactis. One click on the down arrow expend the list to all actions that occurred during the current analytical session (FIGURE).
Advanced controls
Each tab contains specific controls. To access them, user has to select the tab. The six tabs are shortly described below with a link to their dedicated part in the help desk :
- Setup / Stage
- This tab contains general settings for column and sample selection.
- µ Scope
- This tab drives optical microscope setting like field of view, focus, light type, polarization.
- SEM
- This tab hosts controls required to work with electron imagery (backscattered or secondary). Brightness, contrast, scan size, focus are parts of the available functions.
- X Live
- This tab allows to create Xray live images (from WDS or EDS).
- X Images
- This tab is dedicated to the acquisition of Xray chemical maps.
- Quanti
- Chemical quantification setting are rule though this tab, together with the expert system for automatic-build of quantification setting programs.
All the command are based on touch screen interaction
Related Article
ETU – Introduction
Reading Duration 2min
Why a complex instrument should use a complex interface ? Trying to address this question leads us to rethink all of our softwares to turn them really easy to use. We had to forget all the way we develop softwares since decades and from a white paper, we imagined a new design that can hold advanced functionality together with intuitive touch-screen control in a unique window.
ETU – Setup/Stage
Reading Duration 4min
This part describes the SETUP/STAGE tab
Optical Microscopy
Reading Duration 4min
This article presents, in a tutorial mode, how to display and acquire high-quality images from optical microscopy system of the SX-FIVE. Functions are spread into ’Optical microscopy’ (all the hardware controls), ‘Save’ and ‘Mosaic’ subsections.
Scanning Electron Microscopy
Reading Duration 11min
Electronic images are provide though the Scanning Electron Microscopy functionalities of the SX-FIVE. Three detectors are available.
ETU – XLive
Reading Duration 10min
X Live is a powerful tool designed to draw real time X images using WDS or EDS detection. Images can be acquired separately or as a composite including SEM image as background.
ETU – XImages
Reading Duration 5min
This tab is dedicated to the acquisition of high resolution / high count rate chemical maps.
ETU – Quanti/Check
Reading Duration 18min
The ‘Quanti’ tab provides all the tools necessary to get quantified chemical analysis of any solid sample, but also a range of check procedures to ensure the instrument hardware is well set. Both of them can be reach though the sub-tabs ‘Quanti’ and ‘Check’.
ETU – Configuration – Menu
Reading Duration 10min
Configuration window allows to set ‘Focus Auto Config’, ‘Astigmatism Auto Config’, ‘Expert System Config’, ‘Check standard Config’ and ‘Check Machine Config’.


