Optical Microscopy
OPTICAL MICROSCOPE
The optical microscope (µScope) of the SX-FIVE is equipped with a reflected light illuminator, and an optionally, a transmitted-polarized illumination system. Pressing the ‘REFLECTED’ or ‘TRANSMITTED’ button will turn the chosen illuminator on. The ‘LIGHT’ button also toggles the illuminator on and off.
Pressing the ‘POLARIZER’ button inserts or removes polarizers in the optical path. For reflected light, there is a mechanically-coupled, rotatable polarizer-analyzer pair in the optical path. For transmitted light, a lower polarizer and upper analyzer pair may be rotated together. The angular offset between the two can be set using the ADJUST button.

The optical field of view
The Field of View (FOV) of the SX-FIVE optical microscope is defined by the length of the diagonal measurement of the optical image, and can be continuously changed between ~1750 µm (low magnification) to ~250 µm (high magnification), using the dedicated slider control. Although focus is retained at all magnifications, a default FOV of 500 µm is recommended to give good sensitivity for precise focusing.
The optical focus
The optical microscope built into the EPMA is a useful tool for locating areas of interest, or for correlating areas with previous optical microscopy work performed on the sample. However, the microscope also serves a critical function for WDS X-ray analysis: optical focus ensures that the sample surface is on the X-ray Rowland Circle, along with the diffracting crystal and X-ray detector. An error of few microns in Z position can greatly reduce the measured WDS X-ray intensity (precise Z position is less critical when using an inclined WDS spectrometer or an energy dispersive spectrometer, EDS).
The Z-axis adjustment can be performed manually, using the touch screen ‘Stage Z’ wheel or the slider and (+) and (-) buttons below the wheel for fine tuning. Automatic Z-axis focusing is done by pressing the ‘AF’ button (FIGURE). The user should check Z-focus before every analysis point to account for any variation in sample surface horizontality.
The joystick can also be used for setting Z-focus.
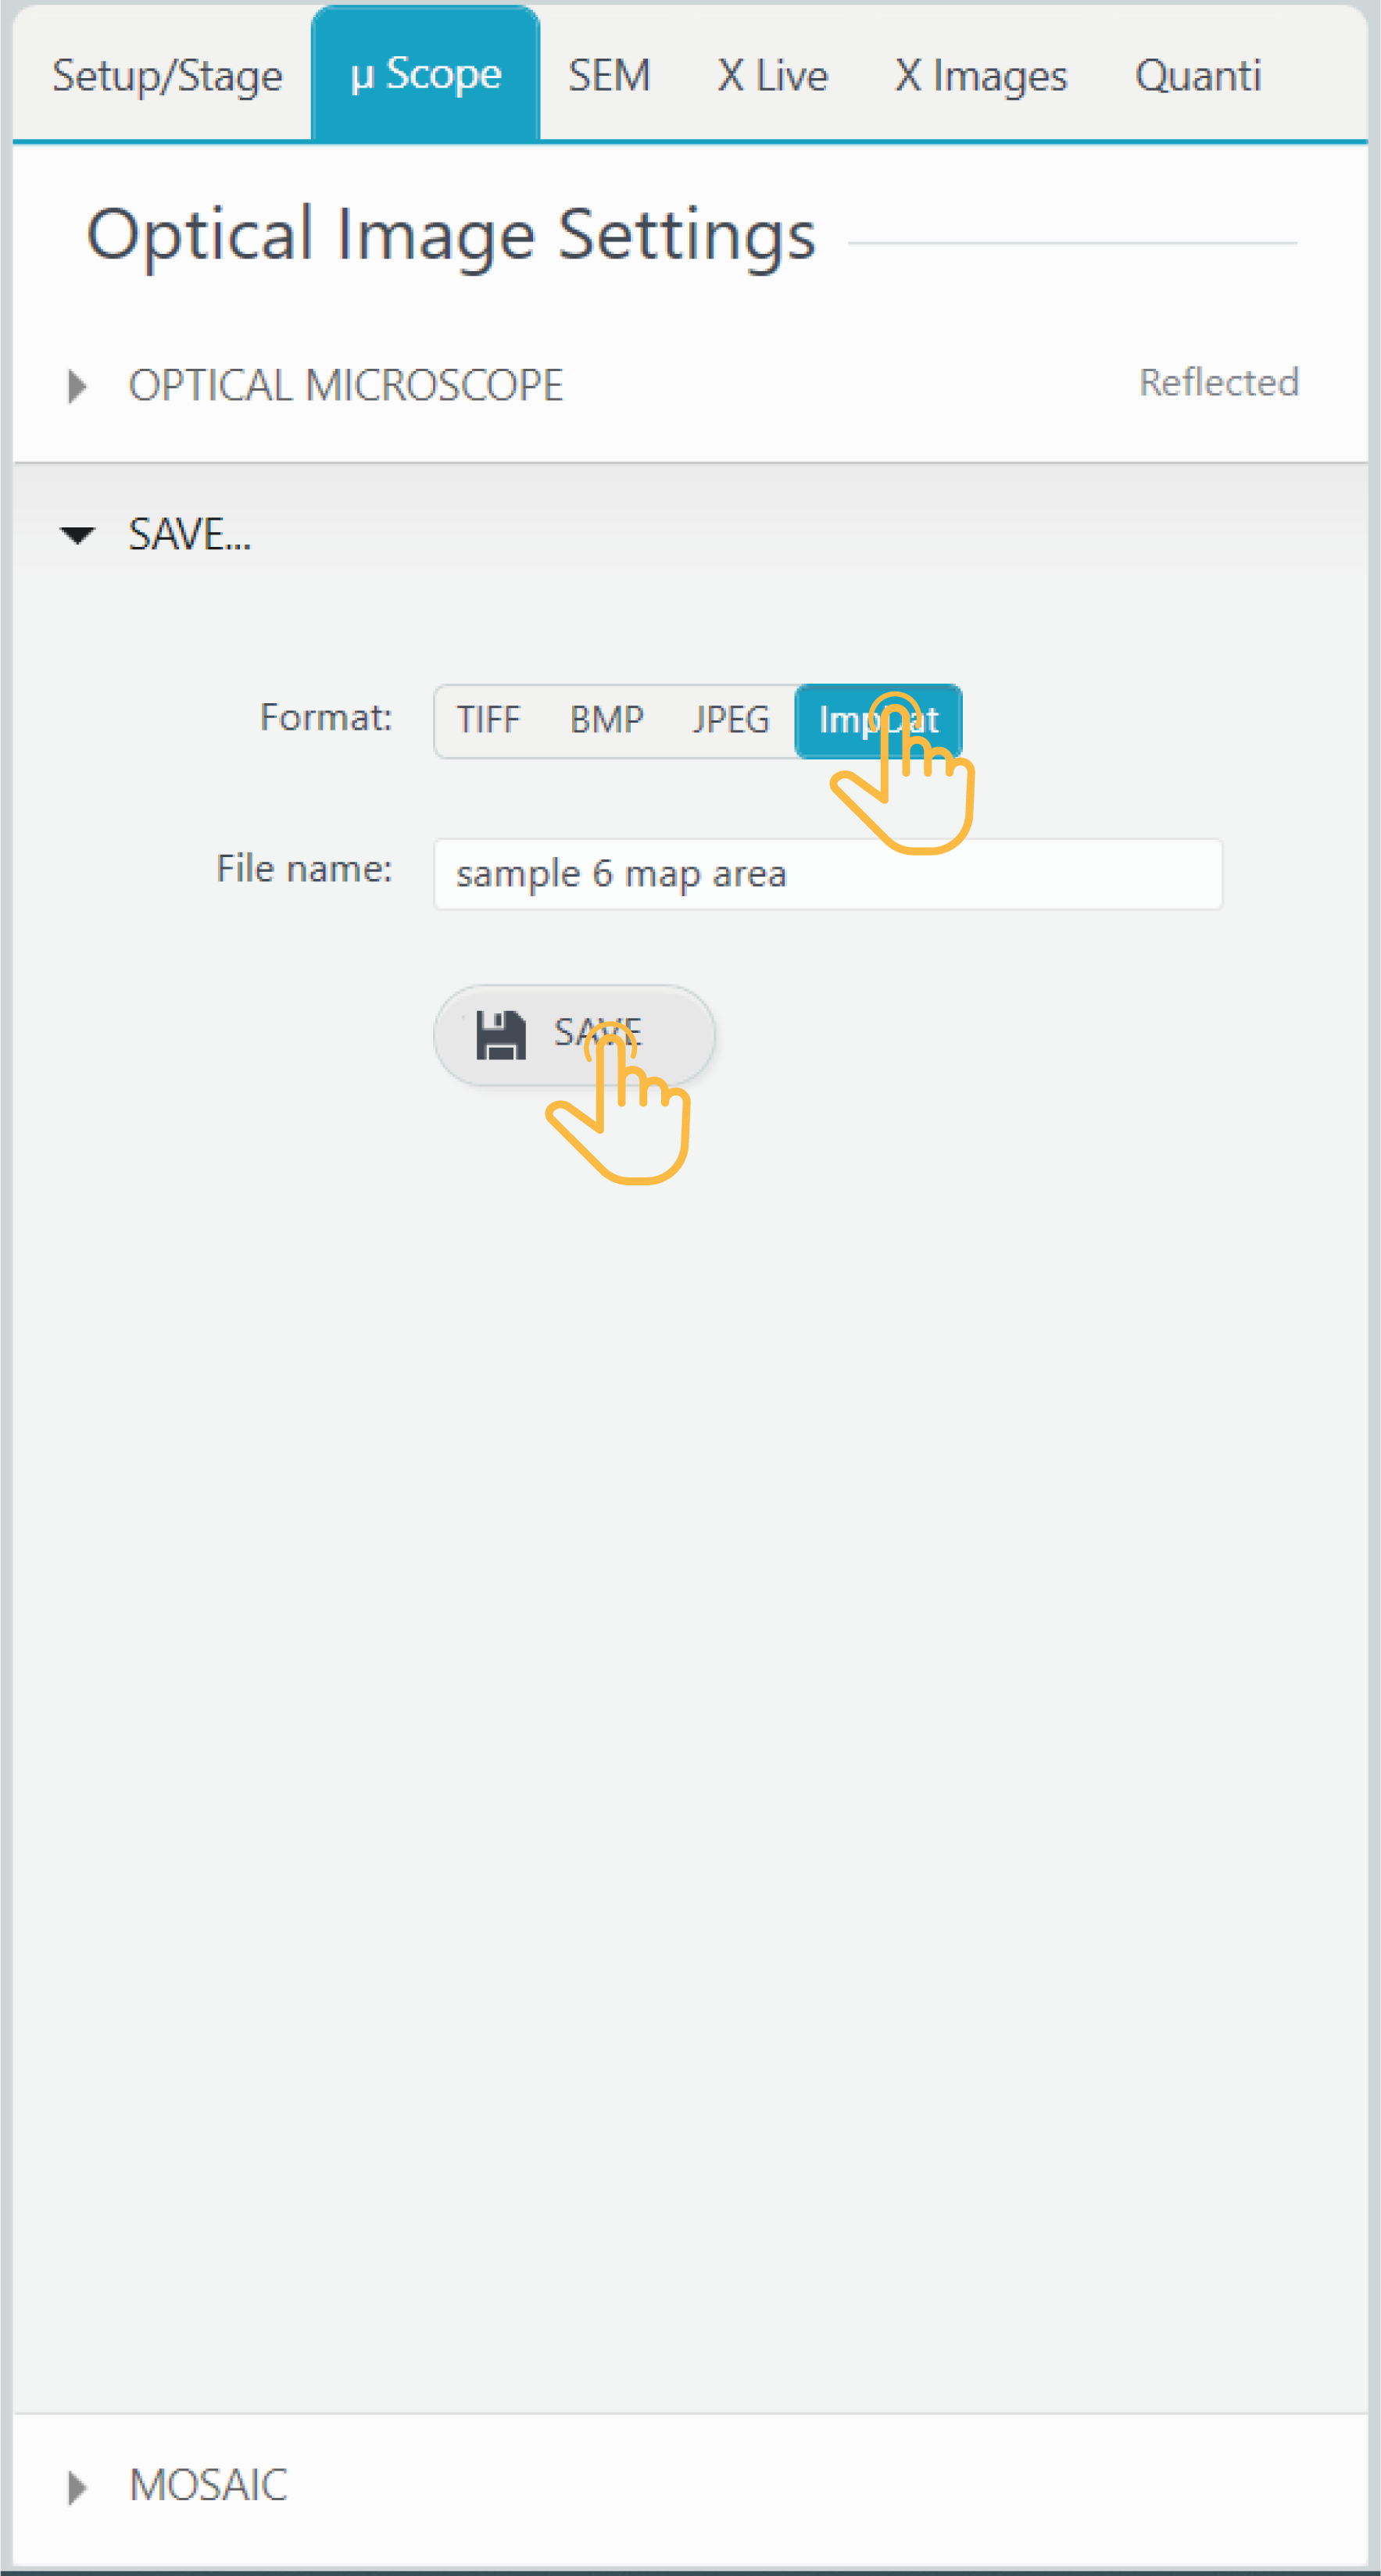
SAVE
SX-ETU can save the optical microscope image as a TIFF, BMP, JPEG or ImpDat file. ImpDat is a proprietary image format developed by CAMECA, containing additional information, such as XYZ position and instrument configuration. The file can be viewed only with CAMECA software.
After file format selection, designate a filename and press the ‘SAVE’ button. The file will be automatically saved in the Images&Profiles folder within the previously-defined path (Project/Sample) and automatically opened in the SX-Results program.
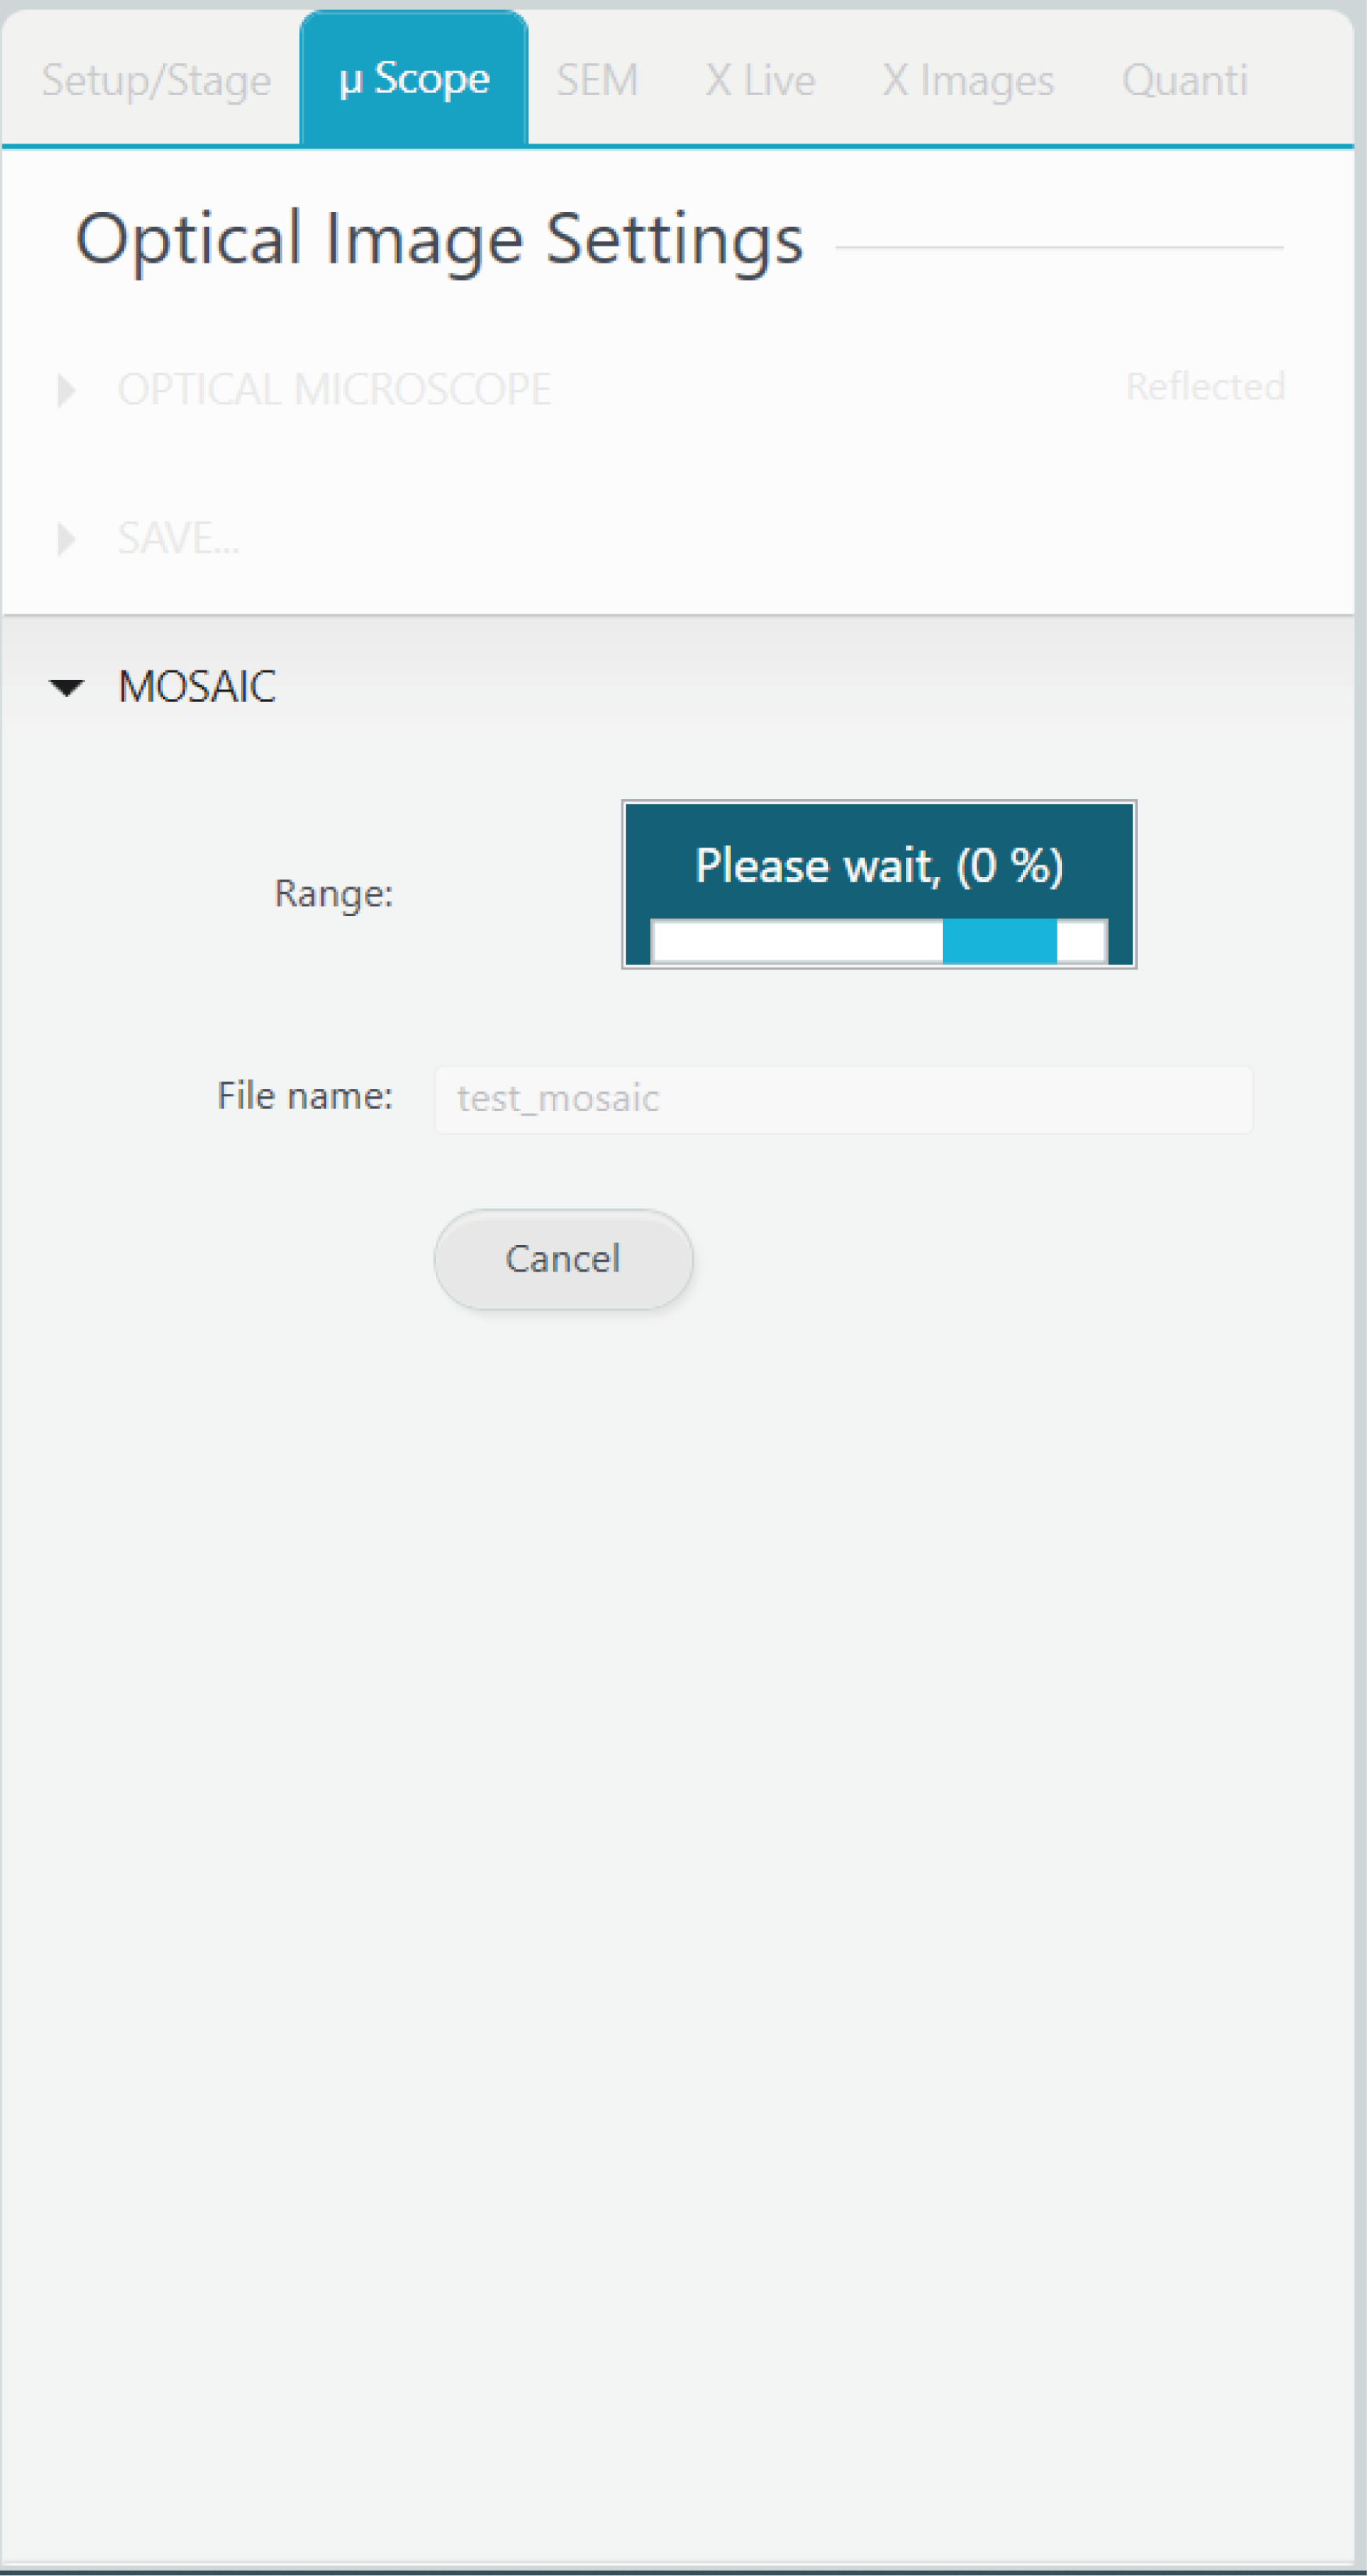
MOZAIC
A new function implemented in SX-ETU allows acquisition of mosaic images using the optical microscope. Maximum X/Y range cannot exceed 1 mm x 2 mm (FIGURE).
Outside of those dimensions opens up Mosaic program
After image size selection, the user is asked to define a filename and press the ‘SAVE’ button. The output file will be automatically saved in the previously-defined Project/Sample path and automatically opened in the ’SX-Results program.

Related Article
ETU – Introduction
Reading Duration 2min
Why a complex instrument should use a complex interface ? Trying to address this question leads us to rethink all of our softwares to turn them really easy to use. We had to forget all the way we develop softwares since decades and from a white paper, we imagined a new design that can hold advanced functionality together with intuitive touch-screen control in a unique window.
Start With Tactis ETU Software
Reading Duration 6min
Tactis ETU Software is a part of PeakSight 6.3 and late.
ETU – Setup/Stage
Reading Duration 4min
This part describes the SETUP/STAGE tab
Scanning Electron Microscopy
Reading Duration 11min
Electronic images are provide though the Scanning Electron Microscopy functionalities of the SX-FIVE. Three detectors are available.
ETU – XLive
Reading Duration 10min
X Live is a powerful tool designed to draw real time X images using WDS or EDS detection. Images can be acquired separately or as a composite including SEM image as background.
ETU – XImages
Reading Duration 5min
This tab is dedicated to the acquisition of high resolution / high count rate chemical maps.
ETU – Quanti/Check
Reading Duration 18min
The ‘Quanti’ tab provides all the tools necessary to get quantified chemical analysis of any solid sample, but also a range of check procedures to ensure the instrument hardware is well set. Both of them can be reach though the sub-tabs ‘Quanti’ and ‘Check’.
ETU – Configuration – Menu
Reading Duration 10min
Configuration window allows to set ‘Focus Auto Config’, ‘Astigmatism Auto Config’, ‘Expert System Config’, ‘Check standard Config’ and ‘Check Machine Config’.
Contact

Our support team is ready to help you
FAQ

Answers to some common questions from SX users
Troubleshooting

Quickly search for solutions to instrument issues