Common modules
The SX-AppBar is divided into five modules : ‘Control’, ‘Analysis’, ‘Position’, ‘Data’ and ‘Utilities’.
Control
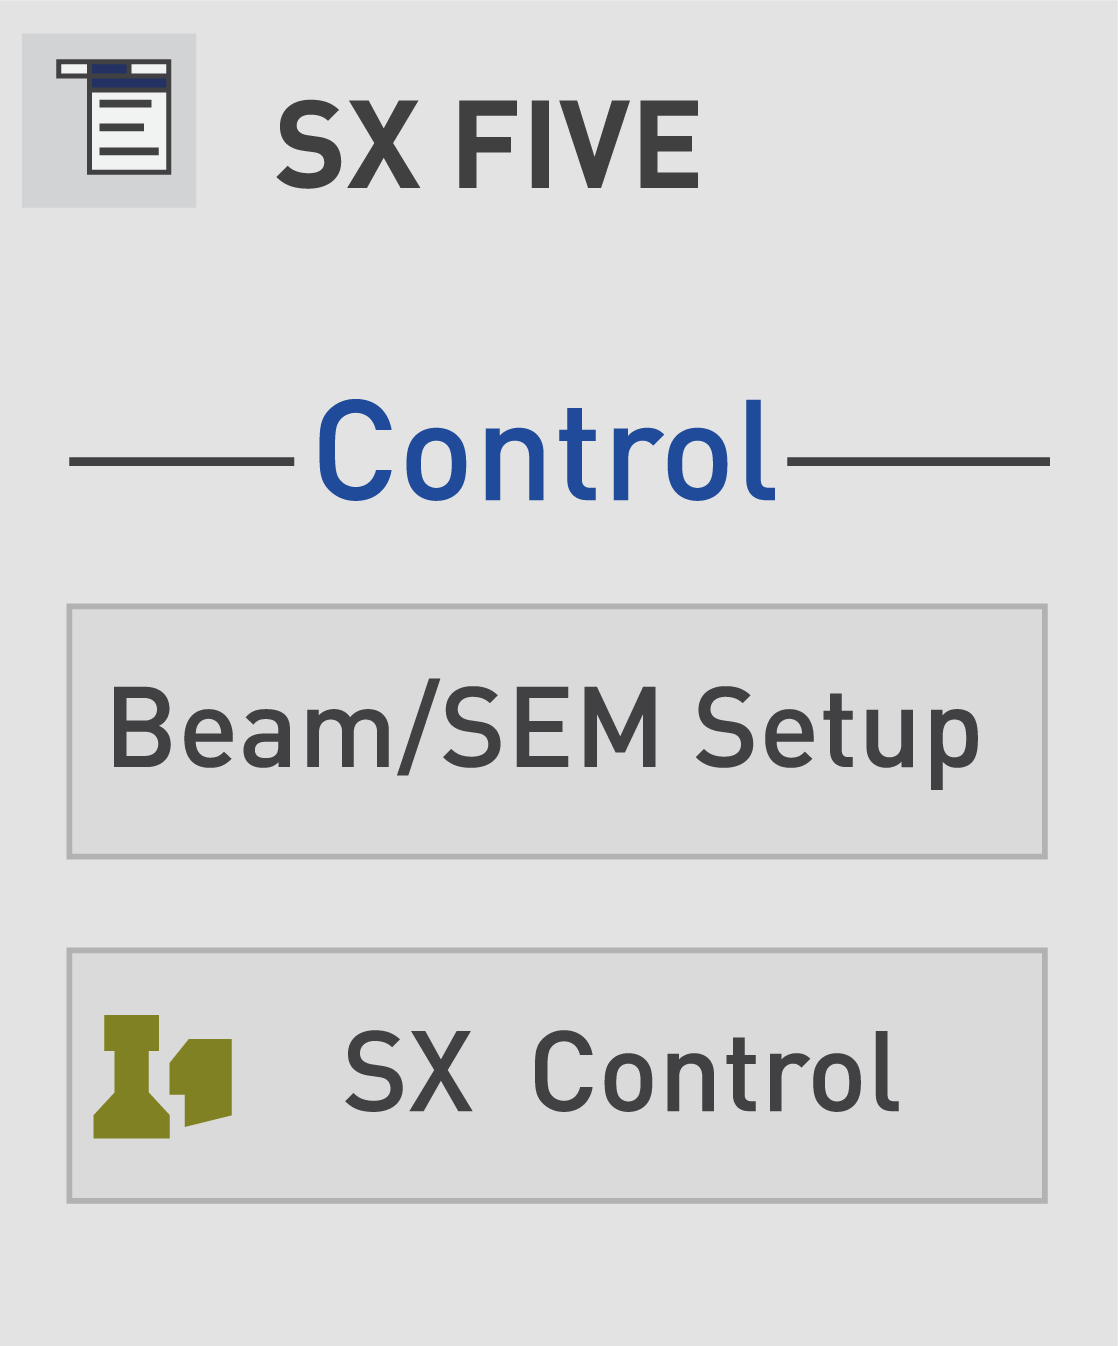
The SX Control program gathers all the SX control settings. It allows to assess vacuum conditions, operate gate valves, sample introduction in, or removal from, the instrument, tune beam conditions, set up the electron microscope and the camera for imaging purposes, select the appropriate parameters for the Wavelength Dispersive Spectrometers (WDS), as well as properly define suitable analysis locations on the targeted sample. Beam/SEM setup allows to set and save beam conditions according use cases (more details are given in SX-Control section).
Analysis
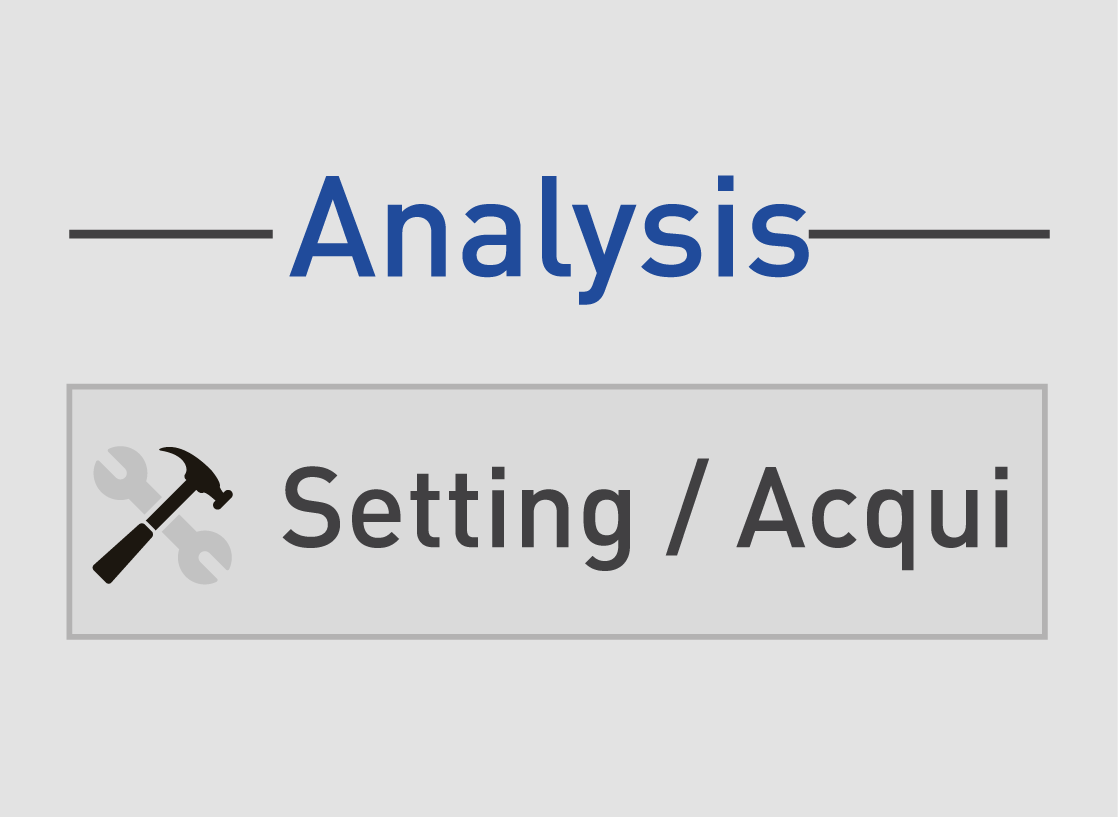
The Setting/Acqui program (or SX-SAB for Setting, Acquisition & Batch) allows to define and edit settings, analyses and batch files used for the acquisition of WDS spectra, electron and X-ray profiles and images, quantitative calibrations and quantitative sample analyses. Settings files, which could also be described as protocols or recipes, contain information about the physical configuration of the instrument, such as beam energy and X-ray measurement parameters. Acquisition files contain a list of sample locations where experiments are performed. Acquisition files can be combined into a chained list or batch file for unattended operation.
Position

The Position module displays an overview of the installed sample shuttle, with live, superimposed, sample and beam locations. Full navigation functionality, allowing to change the installed holder and access more detailed sample information, is accessible within the SX-Control menu in the Stage/Roller tab . It is possible to move to an approximate stage position by double-clicking on the desired location in the Position pictogram on the SX-AppBar. The exact XYZ coordinates after the move will be shown in the Stage/Roller tab and within the optical image display.
Data

Once analyses have been conducted, SX-Results program allows to display and process all types of acquired data. This user-friendly flexible interface is very efficient for visualization and processing of WDS qualitative and quantitative spectra, images, X-ray intensity calibrations and quantitative analyses. These windows can work as a multi-document interface, allowing several acquisitions to be displayed simultaneously. Calibration button opens a display of the X-ray intensity calibration database, in which individual entries can be filtered, sorted and modified. Data Explorer refers to a database utility which may be used to locate previous PeakSight data acquisitions (WDS spectra, images, calibrations, quantitative analyses) by presenting thumbnails of the data. Data can be filtered by date, name, acquisition type and other parameters.
Utilities

The Utilities module contains several programs. Interf Check is a program for evaluating potential X-ray overlaps, given a list of analyzed and present elements, measured at a certain beam energy. Recorder acts as a real-time ‘strip chart’ recorder, enabling the monitoring of vacuum readings, instrument temperatures, spectrometer counts, and other instrument parameters over a user-defined time. The Configuration program grants access to instrument configuration (installed options, spectrometer and stage hardware parameters, some software defaults, and so on). Many of the functions in Configuration are password-protected to prevent the occasional user from changing instrument parameters (contact our service if you forgot the password). Interpretor is a command-line interface providing direct access to the SX hardware. Using these commands, expert users may write their own scripts to automate instrument controls. Logbook is useful for monitoring past performance of the vacuum system, electron source, stage and spectrometer movement and system and acquisition events. Users who want to use a different Mass Absorption Coefficient (MAC) from the one stored in the CAMECA default tables for a given emitter-absorber pair, can edit the value via the MAC Set module.
Software loading
Stage motion
Pre-defined function buttons
Adjustments
Open the Joystick Control on the Taskbar to adjust operation of the joystick. Any changes take effect immediately. The panel may be left open or minimized. If the panel is closed, the joystick will stop functioning and can be restarted by relaunching the joystick.exe program in CAMECA SX\bin.
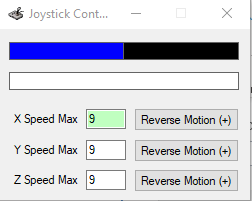
It is also possible to reverse the directional sense of the X, Y and Z axes, so that the joystick moves the stage in a logical manner to the user.
Contact

Our support team is ready to help you
FAQ

Answers to some common questions from SX users
Troubleshooting

Quickly search for solutions to instrument issues